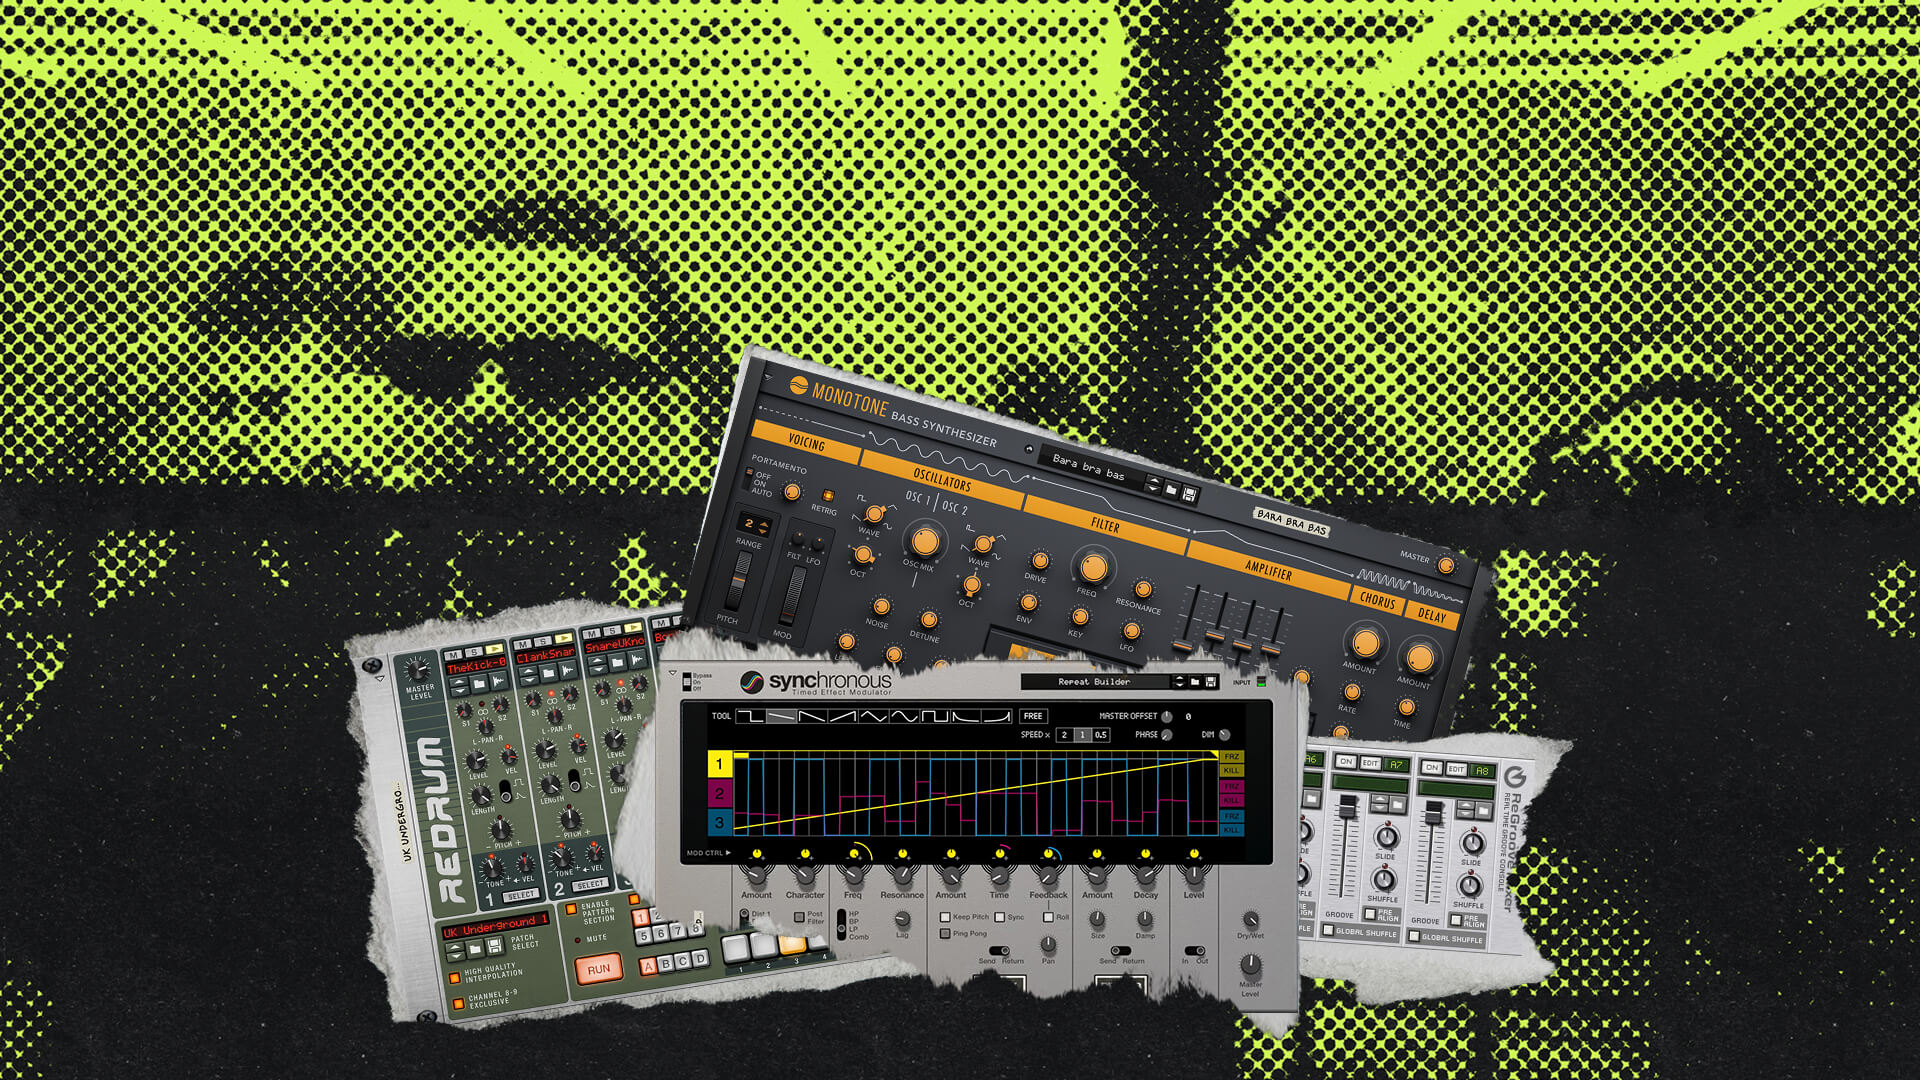
Saying “Drum n’ Bass” is practically as vague as saying Rock n’ Roll. There’s a world of difference between Jerry Lee Lewis and Gwar – even if they share some common heritage. Similarly, Liquid Drum n’ Bass is a popular variant of the original Drum n’ Bass styles coming out of the UK in the 90s. Liquid DnB fuses modern EDM production with the essence of classic DnB for an increasingly popular result.
Here, Ryan shows you how you can put together your own Liquid DnB drum sounds and perhaps most importantly, how you can tap into the Pro potential of Reason’s mixer to get some seriously punchy drum sounds.
Transcript
- 00:00 – Intro: a brief history of drum and bass
- 00:38 – Liquid drum and bass and the tempo
- 01:02 – Building the kick in Redrum
- 01:47 – Layering drums with gate jacks
- 02:16 – Programming the kick pattern
- 02:32 – Building and layering the snare
- 03:18 – The mixer’s dynamics and EQ sections
- 04:03 – Wiring each drum to its own mix channel
- 04:23 – Gating a kick channel
- 05:09 – Low/high-pass filters and EQ
- 05:40 – The second kick channel
- 05:54 – Grouping channels
- 06:08 – Parallel compression: the Photoshop analogy
- 06:46 – Creating a parallel channel for the kicks
- 07:22 – Blending the parallel channel back in
- 08:01 – Parallel compression on the snares
- 08:48 – Layering top-end percussion loops
- 09:08 – The signature flutter of drum and bass hi-hats
- 09:53 – Filtering the chaos into shape
- 10:43 – Grouping the percussion
- 10:58 – Programming the beat with Blocks
- 11:35 – Fine-tuning the block timing
- 12:10 – Using pattern variations within Blocks
- 12:31 – Wrap-up
Intro: a brief history of drum and bass
Drum and bass came about in the UK during the ’90s, a dark time when internet service there was still charged by the minute, and nobody yet knew the word “zigazig-ah.” Using primitive samplers, drum and bass pioneers found that laid-back, simple drum breaks like this sounded even cooler when you pitched them up on a sampler — and they sounded even cooler when you juggled the rhythm around.
Liquid drum and bass and the tempo
In the 20 years since, drum and bass has splintered off into many subgenres, but one modern and popular style is liquid drum and bass. Liquid drum and bass fuses drum and bass’s essence with the tonal qualities of ambient and even commercial EDM production styles. But one thing that has remained throughout drum and bass’s many subgenres is the tempo — let’s set our tempo today to 175.
Building the kick in Redrum
The construction of the actual beat is really simple, so let’s get that going first using Redrum. Yes, Redrum, and not “redrum” — if you’ve seen The Shining, you’ll get it.
As usual, let’s right-click and reset our device to clear it out. We’ll go to our sounds and samples folder, bass drums, and Barge is a favorite of mine for making punchy, electronic-sounding kicks. Let’s shorten the sample length for an even tighter sound, and lower the pitch.
Layering drums with gate jacks
By now in this series, you’ve probably realized that I’m a fan of layering drum samples. So let’s add Aggro to channel 2, and lower its pitch. We’ll also shorten its length, because we don’t want a big trap-style 808 boom.
Layering drums in Redrum lets us dip our toes into Reason’s other world, the back of the rack. Reason’s rack allows for amazingly advanced signal routing, and there’s different signal types you can patch between devices, but today we’ll focus on Redrum’s gate jacks. Let’s patch a gate out from the first channel to the gate in of the second — now, when we trigger the first sample, it sends a gate signal to trigger the second sample automatically, effectively linking them. This means that we only have to program the main kick channel on the step sequencer to have both drums sound.
Programming the kick pattern
The classic kick pattern for most drum and bass genres has kick drums on steps 1 and 11. We can also create a variation on pattern 2 that has kicks on steps 3 and 11.
Building and layering the snare
We’re going to do the exact same process for our snare, but a little faster now, because you’ve got the concepts down. We’ll select a sample for our snare drum in the snare drums folder, Culture. This time we’ll pitch our snare up, in keeping with that original drum and bass pitched-sampler sound.
And let’s select a second snare layer, Crispen, max its level, and boost its pitch as well. Just like our kick drums, we’ll join these two samples by running a patch cable from Culture’s gate out to Crispen’s gate in, and program our snares by selecting Culture. The pattern for our snare is simple: snares on 5 and 13, but we need to remember to do those for our pattern 2 variation as well.
The mixer’s dynamics and EQ sections
Now let’s dive into the mixer. Sadly, too often in music production, the mixer is overlooked — it’s easy to think of the mixer like this, just a big row of faders. In fact, that’s often how mixers are treated in other programs, some kind of Excel spreadsheet where you add effects and then balance levels at the bottom. But pro mixing consoles and recording studios are so much more than that.
Reason’s mixer includes two important sections that are meticulously modeled after the legendary SSL 9000K: the dynamic section, and the EQ section. Pro mix engineers sculpt their mixes by relying heavily on these sections.
Wiring each drum to its own mix channel
To use the mixer to its fullest, like I would a studio console, I want to treat each drum individually. That means we need to create four empty mix channels, and run audio cables from each Redrum channel to each mix channel. I’ll label each channel, and I can even disconnect the main outs from Redrum and delete this unused mix channel, since all our drums are now wired individually.
Gating a kick channel
Let’s solo the main kick sound and start by using the channel gate. Many people only think of using gates to cut out microphone bleed in acoustic recordings, or to remove guitar hum, but samples can be tightened up using gates as well. Let’s turn on our gate and set everything to extremes: maximum range, maximum threshold, and the fastest release.
We’ll dial back our threshold until our gate is opening up for each kick. You can hear that our release is too fast — but on the opposite extreme, you hear all that high-end decay, we don’t need that. So let’s dial back the release until we hear that go away.
Low/high-pass filters and EQ
Next up is the low- and high-pass filters. The basic consideration is this: if there’s any frequencies in this channel that you don’t absolutely need in your mix, cut them out. Our kick doesn’t need all that high-end, so let’s activate our low-pass filter to cut it.
Last up is the classic EQ section you might already be familiar with. Let’s turn it on and sculpt a little more of our kick — I want to scoop out a little more of the high, and boost the low.
The second kick channel
Our second kick channel doesn’t need a gate, but it would benefit from the same low-pass EQ, and we should sit it underneath our main kick more.
Grouping channels
Once we have our two channels working in relation to each other, I select them both and press Command-G on a Mac, or Control-G on Windows, to create a group channel, which I’ll label Kicks.
Parallel compression: the Photoshop analogy
Right now, my kicks are punchy, but I want them punchier — and to do this, I’m going to use a pro technique called parallel compression. Parallel compression can be a little tricky to understand, so let’s first consider an analogy.
It’s no secret that photographers retouch and enhance photographs using Photoshop. For example, to make blue eyes really pop, photo editors often create additional layers in Photoshop with extreme enhancements, like oversaturated colors, and then they blend the transparency of these extreme layers back down, resulting in more subtle enhancements to the original. This concept of blending extremes in with an original exists in mixing too, and it’s called parallel processing.
Creating a parallel channel for the kicks
Let’s right-click our Kicks group channel and choose Create Parallel Channel. Now we have a duplicate of our channel that we can process in extreme ways. Let’s mute the original, and compress the be-Jesus out of our kicks on our parallel channel — I’ll turn on the compressor, crank the ratio, shorten the release, and dial in the threshold so that it’s reacting a lot on the attack, but releasing for that sub decay on its own. This is not a tasteful sound.
Blending the parallel channel back in
But let’s turn this channel down, unmute our original Kicks group, and let’s blend our punchy compressed signal in with our kick. Can you hear what a difference that makes? We still have our kick sound, with the added punch and oomph of our parallel channel. Just like in our Photoshop example, either element on its own isn’t quite right, but together we get something great.
Parallel compression on the snares
We can do the same thing with our snares, and just like we did while layering, let’s move through this process a little quicker, since you now understand the concept. We’ll solo the first snare layer, activate its gate, and tighten it up using the same process we used for our kick. Let’s activate the main EQ and add a little high-mid, too.
Now let’s select our two snares and press Command-G, or Control-G, to group them. And we’ll right-click, create a parallel channel of our snares group, and solo the parallel channel for some extreme processing — we’ll turn on the compressor, shorten the release, maximize the ratio, and dial our threshold to taste, or in this case, lack of taste. Let’s turn that channel down and blend our compressed attack in with our main snare sound.
Now, those are some punchy drums, and it’s a million miles away from where we started.
Layering top-end percussion loops
But there’s still a major element of drum and bass drums missing here: it’s those fluttering hi-hats that give drum and bass its signature top end. The technique involves layering top-end percussion loops, like hi-hats and shakers, and then pitching those loops unnaturally high.
Let’s start with basic shakers found in the Dr. Octo Rex percussion loops folder, and let’s pitch that loop up higher.
The signature flutter of drum and bass hi-hats
We’ll add two other loops — the Bayer Lakeab Bush collection of REX files is a great place to find top-end loops like Hat Play 2, pitched up also, and D-Tune, pitched up the same amount. Wow, that sounds pretty bad, right? Yeah, don’t worry, I hear it too, we’ll fix it.
The cool part in these loops is the fluttering high frequencies; the lame parts are, well, everything else. But believe it or not, this auditory spaghetti that we’ve got going on right now can be cleaned up with the high- and low-pass filters in our mixer.
Filtering the chaos into shape
One by one, let’s focus the sounds to just the parts we need. Shakers are very high frequency, but it’s actually the lower frequencies that I want, to give me the rhythm of the shake without all that sizzle, so we’ll use the low-pass filter.
For Hat Play, we’ll use both high- and low-pass filters to focus the sound on a narrow band of high-mid frequencies. Our D-Tune loop needs the most drastic change — I only want the most high-end frequencies, so I’ll activate the high-pass filter and crank it to the top of its range, giving me just the fluttering sounds above 4 kHz.
Grouping the percussion
I can then make individual level adjustments for each element of my percussion, and then group all three channels to get one percussion group fader, to balance against my kick and snare.
Programming the beat with Blocks
Let’s work our beat in with the music I’ve made. Let’s select each sequencer track and create a pattern lane for all four devices at once. We’ll enter Blocks mode and draw our patterns in for each device — the block only needs to be two measures long. Now let’s draw our block into our main sequence.
Drum and bass likes to start and stop the basic pattern frequently, to punctuate the music. We can start and stop our beat by simply slicing up our block — after an eight-bar instrumental intro, we’ll bring in the drums on the ninth bar, and we’ll cut them out again to punctuate the last two bars of our musical phrase.
Fine-tuning the block timing
Instead of bringing our drums in right on bar 9, let’s adjust our block back one beat, and instead of ending right on bar 15, let’s overhang the bar by one eighth note. If we listen with our intro, you’ll hear the effect.
Using pattern variations within Blocks
Do you remember that Redrum pattern 2 variation we made for the kick and snare? Using the three-dimensional aspect of Blocks, anywhere we want that pattern variation, we can now simply draw in pattern A2 over top of our Redrum track. Pattern 2 has only upbeats on the kick.
Wrap-up
So that’s liquid drum and bass. But I’m sure you realize we’ve covered a whole lot more in this tutorial — these tricks for punchy drums are equally applicable to deep house, trap, electro pop, trip hop, drum and bass, or any musical style you can dream up. So start dreaming, and good luck.